GET THE PERFECT BLOWOUT NOW
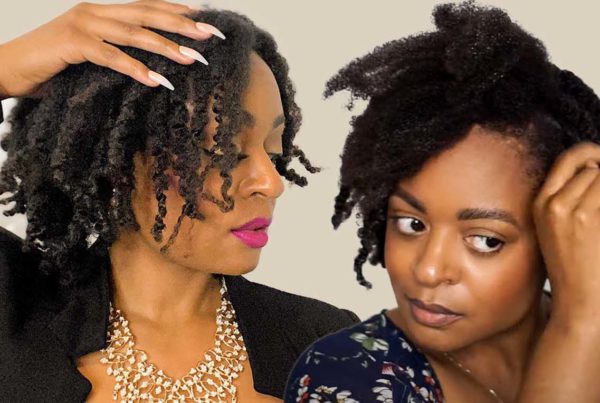
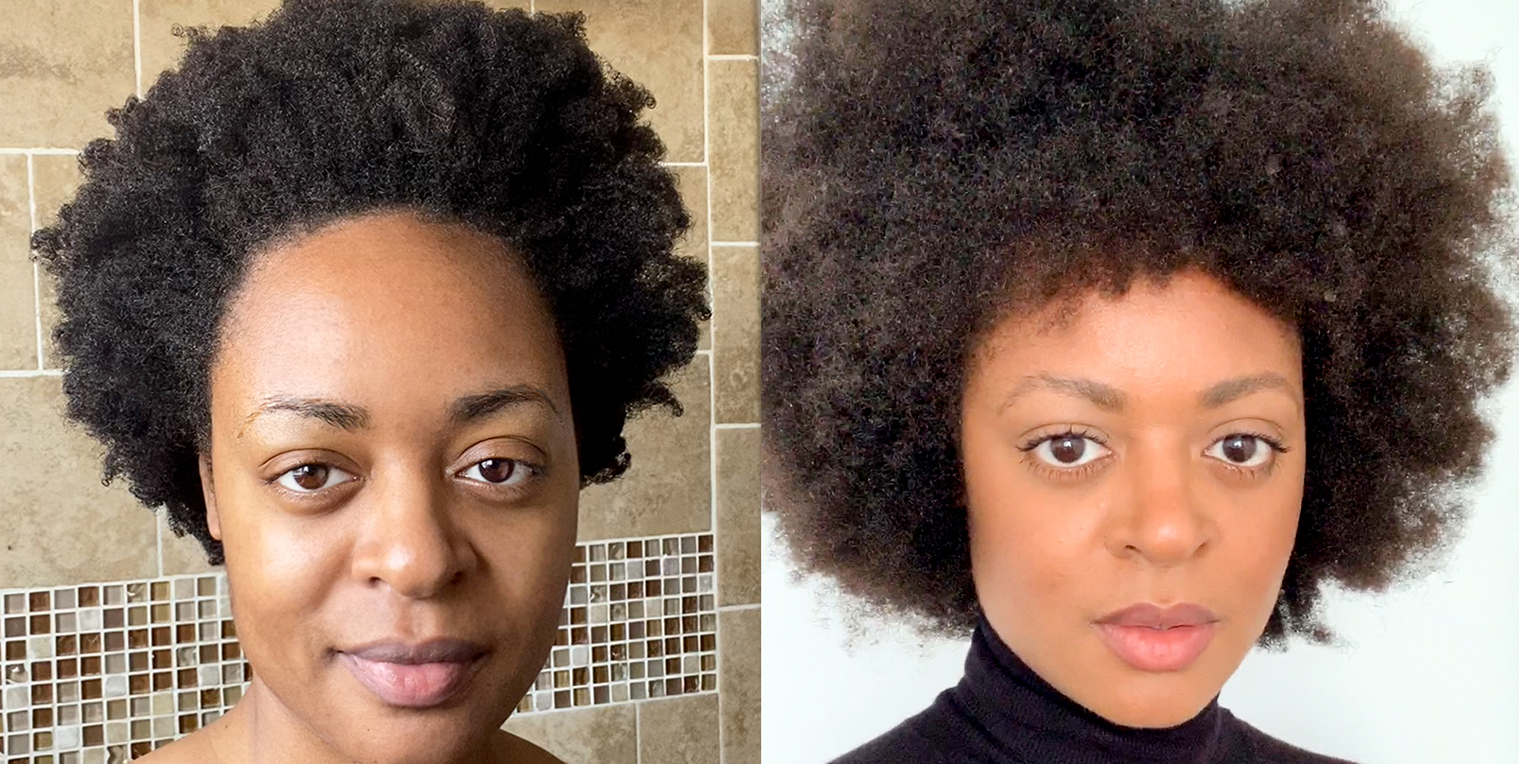
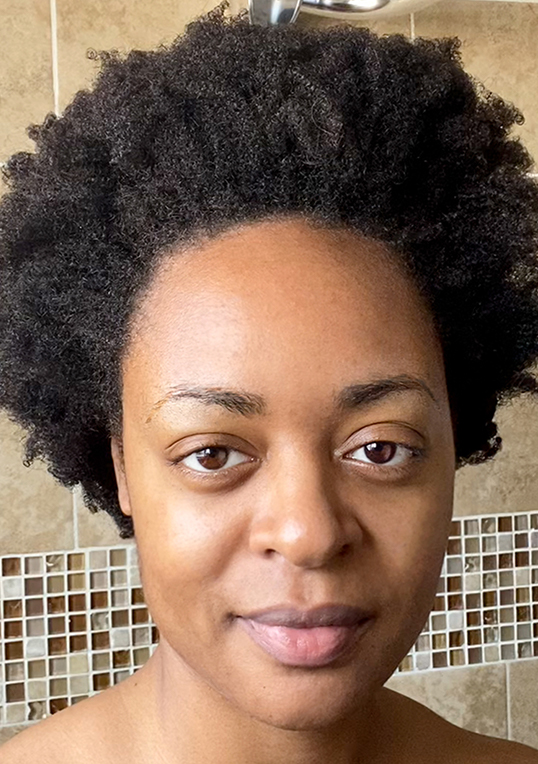
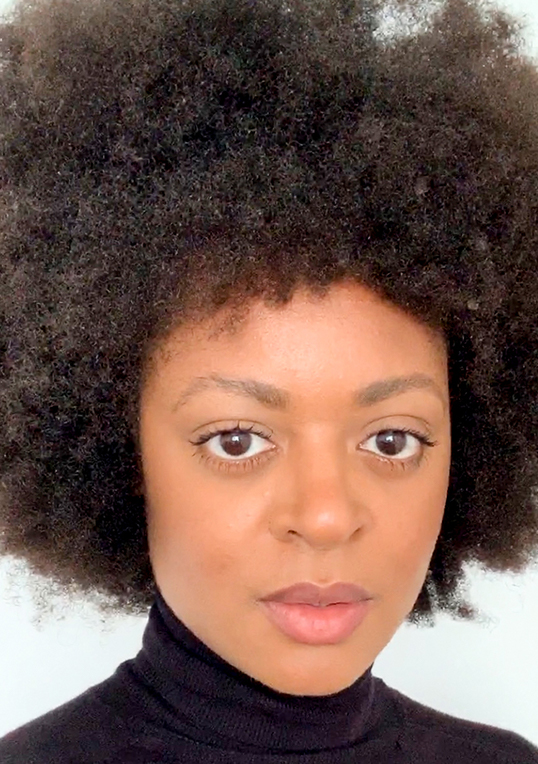
This is how to get the perfect afro blowout on type 4 natural hair. This video will take you step by step through a quick, easy, and simple video tutorial on the first steps you can do to get that beautiful Foxy Cleopatra afro. After a day or two, your hair will most likely revert and you can pick it into the perfect afro. This is why I appreciate shrinkage. Many times shrinkage gives two or three hairstyles in one, if you know how to use it to your advantage.
STEP BY STEP GUIDE (Voice Over Transcript)
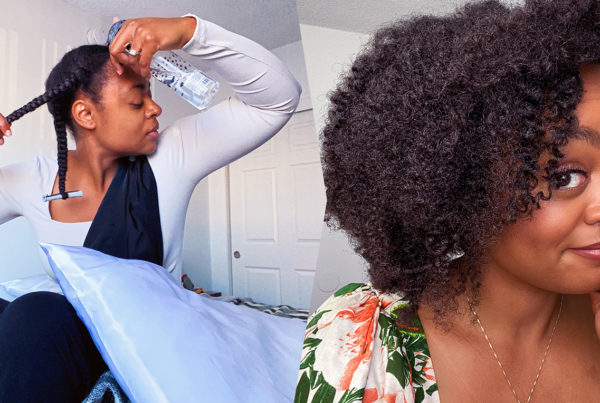
First, wash your hair.
Any time I’d like to rock a blowout, I start on clean hair. This helps get rid of possible product buildup on the hair and the final results tend to last longer. The effectiveness of the products are stronger if it doesn’t have to compete with a bunch of gunk. Also, applying heat to the hair can really dry it out. Hydration is typically the first barrier in making sure you don’t get heat damage.
Twist your hair to work in sections.
Here’s what you’ll need for the blowout:
- A water bottle filled with water.
- Heat protectant.
- A wide tooth comb.
- A blowdryer.
Put all of you hair up in a ponytail except one of the back twists.
This helps keep the hair organized, but it’s optional. If you prefer to have your hair loose and use clips or elastic bands to keep it out of the way, have at it.
Rehydrate the twist with water, unravel, and spray with heat protectant.
Heat protectant and hydration are the two most important steps to take when it comes to protecting your hair from heat damage. My hair isn’t prone to heat damage (thankfully), but I’m not willing to take the risk and neither should you. You’ve worked hard to get that gorgeous head of hair, so keep it healthy and unbothered, sis.
Choose your heat setting and stretch the hair out while you blow dry the section.
I personally prefer a concentrated nozzle because it directs the heat and helps the hair dry faster, but it’s up to you and what you know your hair can handle.
Essentially, you want to repeat the same steps throughout your head. Twisting the hair beforehand helps keep the hair stretched, detangled, and organized through this process. If you happen to have a lot of hair like I do, it’s really helpful.
If your ends get tangled, gently comb it out with the wide tooth comb and continue.
My sections of hair of medium sized. If you have denser hair you might want to make your sections smaller.
As far as the bottle of water is concerned, dampen and detangle hair as needed.
This is a lengthy process. Expect it to take minimum 2 1/2 hours from wash to finish. I know, I know! That’s why I don’t do this often. Hair length and density will also alter the time spent. Surprisingly, this is apart of many naturals wash day routine. If you tend to get a lot of single strand knots and your hair can take the heat, maybe give it a try. This hair journey takes experimentation to get things just right. As for me, I’ll stick with my wash day twists and air dry.
That’s it! I told you I’d be quick. In a couple days, I can take advance of the shrinkage and get a proper afro. Gotta love a bomb afro!
PRODUCTS USED
SHARE IT
Are you an afro person? I personally could wear one every day if it meant my hair would still thrive. However, more than likely, it would dry out and break off from all of the constant manipulation. It’s okay, though. I’m okay with the occasional blowout because, well, this look takes a little too long to do every single wash day.
Check my Youtube natural hairstyles playlist for more tutorials. I’ve also got a youtube tab here on the navigation bar at the top of this page where you can see all of my videos that upload every thursday. Subscribe to my newsletter, so you don’t miss any of my content. See ya in your inbox soon!