PERFECT COLOR, CUT, AND STYLE FOR TEXTURED HAIR
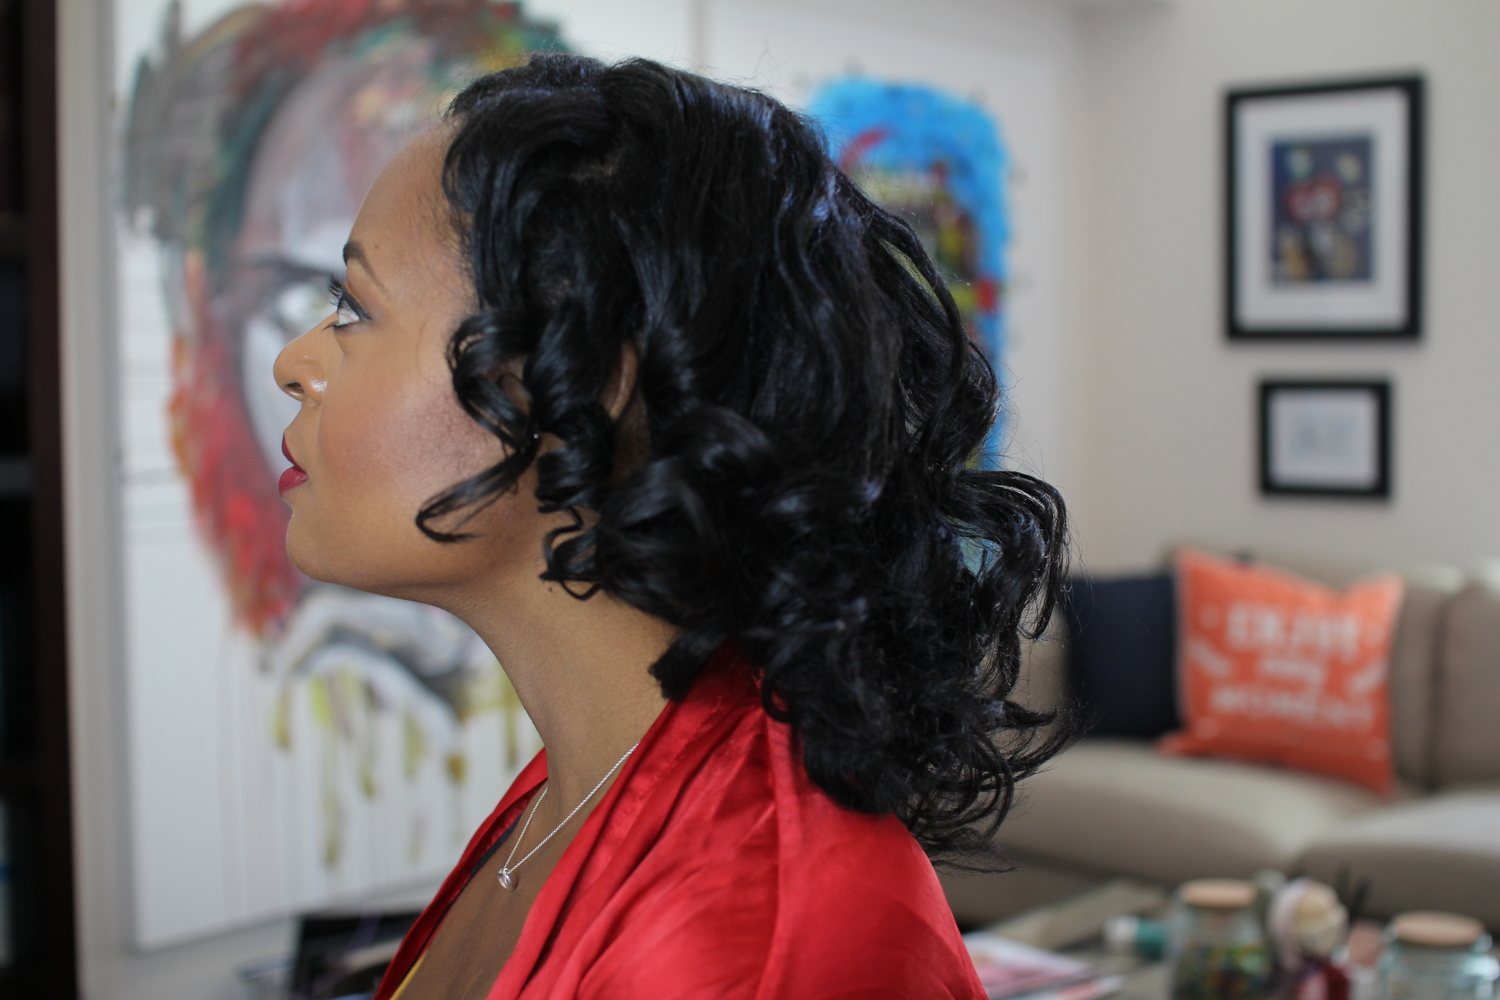
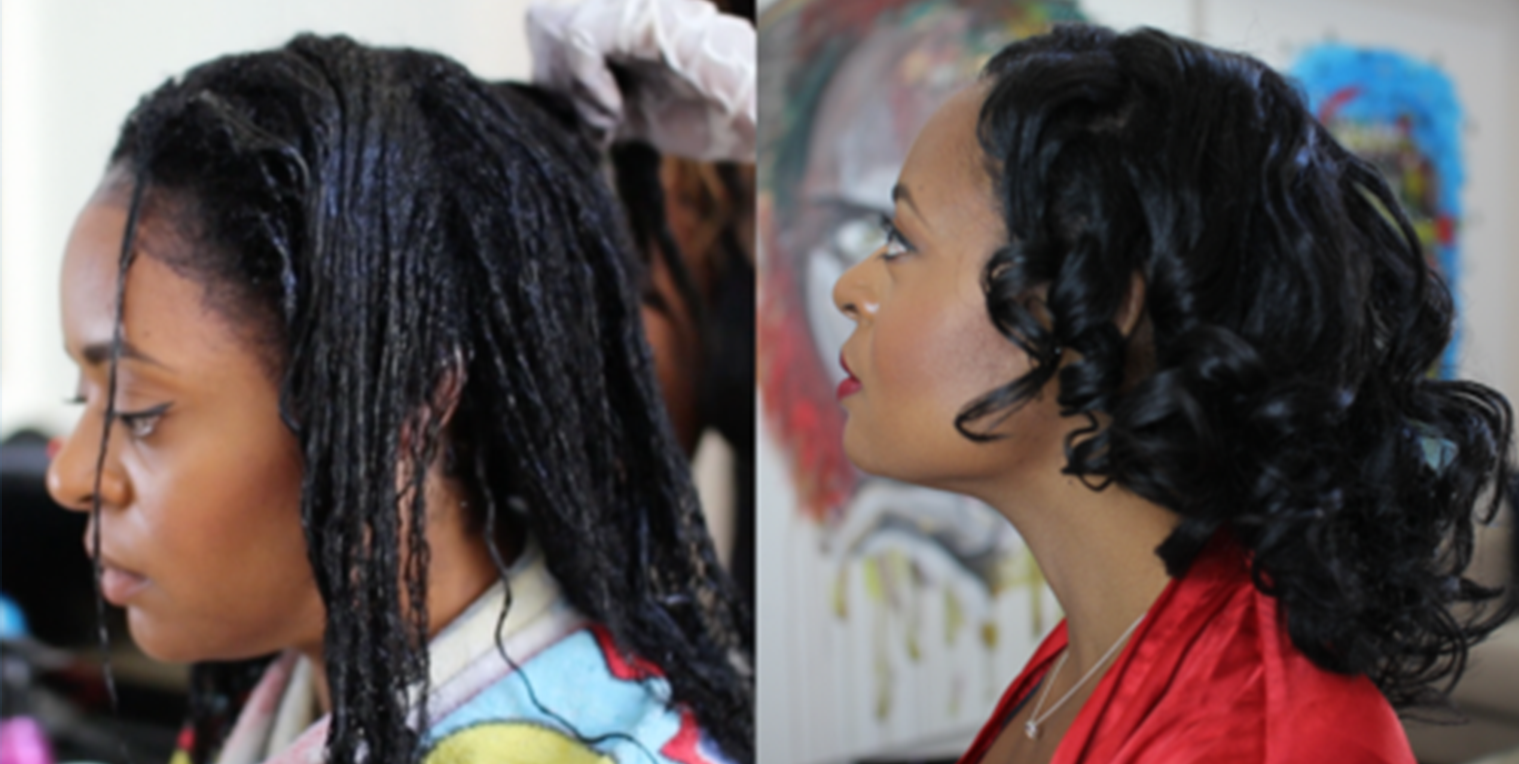
My hair cut, colored blue-black, and pressed
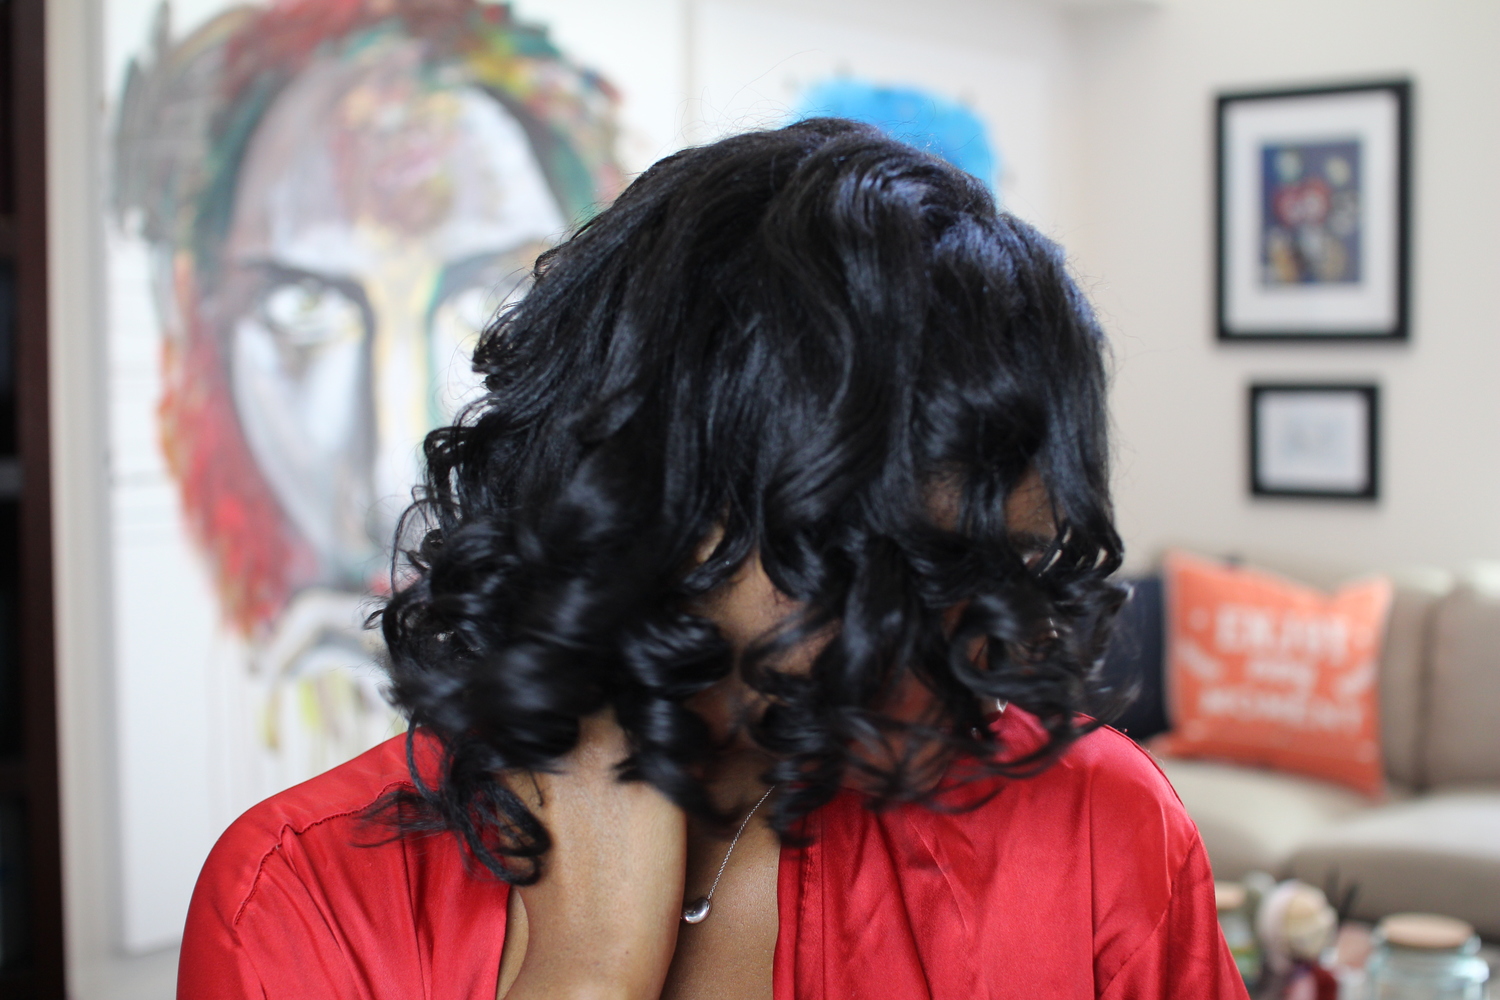
Side shot
If you’ve read my blog post, Meet My Mother, you know that my mother was was visiting from New York for the first time in six years. Yes, you read that right. Instead of requesting a good old fashioned meal, I requested a hair makeover. In true hair lover fashion. Oh come on, if your mother was a talented cosmetologist I’m sure you would have done the same thing. When a woman is that good with hair, you don’t pass up on any opportunities.
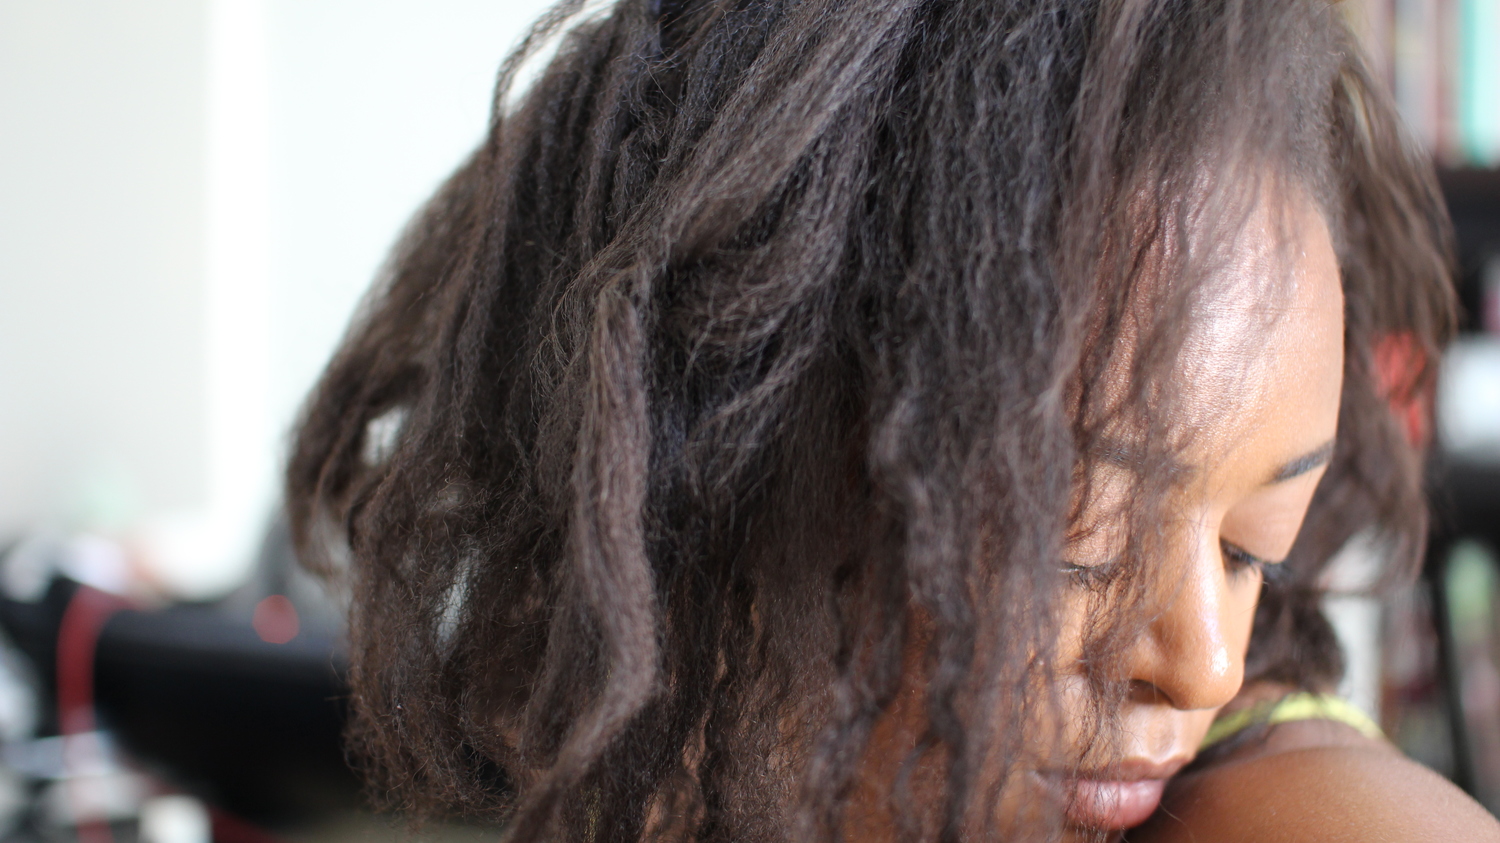
Before
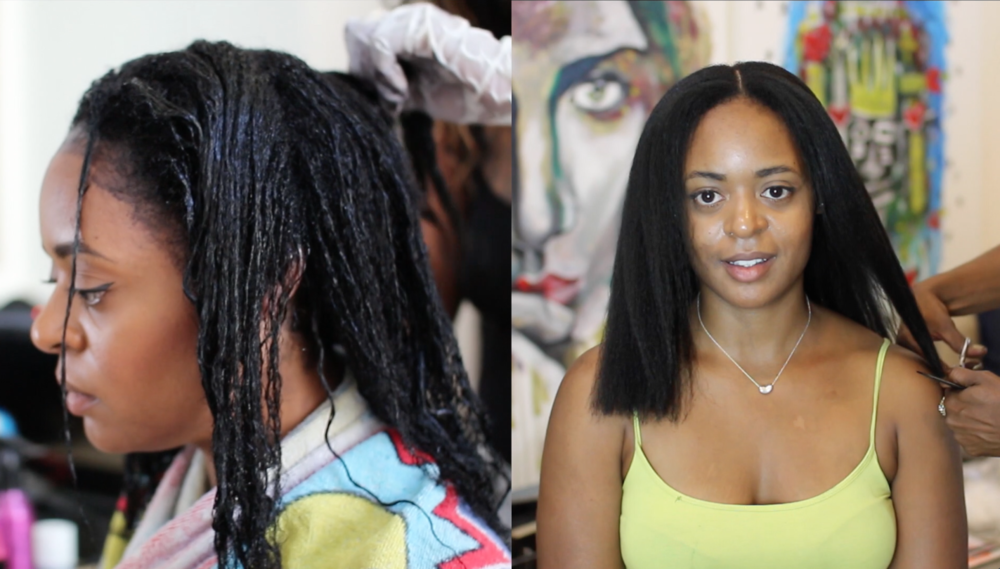
During. Video screen shot
As always, she did a fabulous job. I’m including the youtube video below so you can see all of the steps in action. Trust me, it’s worth watching. It’s full of tips and tricks, and if you’re like me, seeing the technique is just as important as reading the steps. Watch the video below.

WHAT YOU NEED
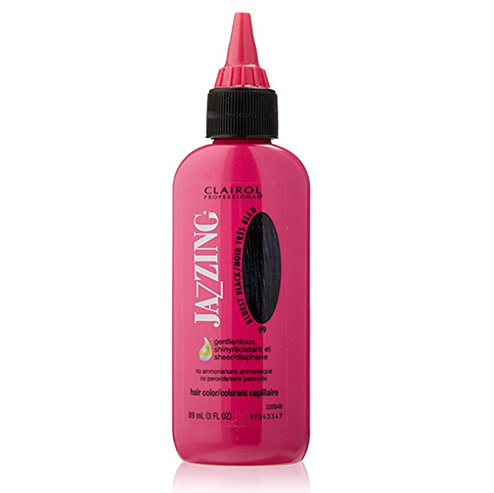
Clairol Jazzing Semi Permanent Hair color in Bluest Black and Clear
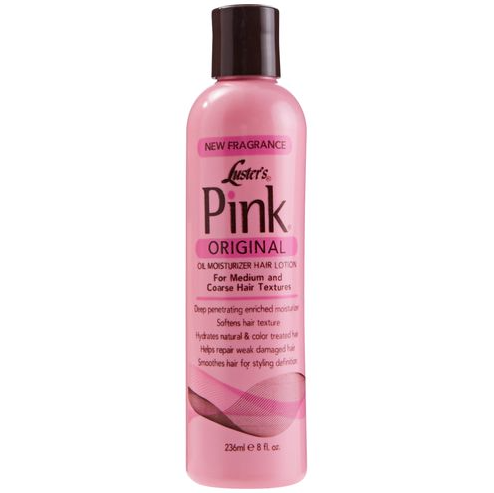
Pink Oil Moisturizer to soften, condition, and style for shine.
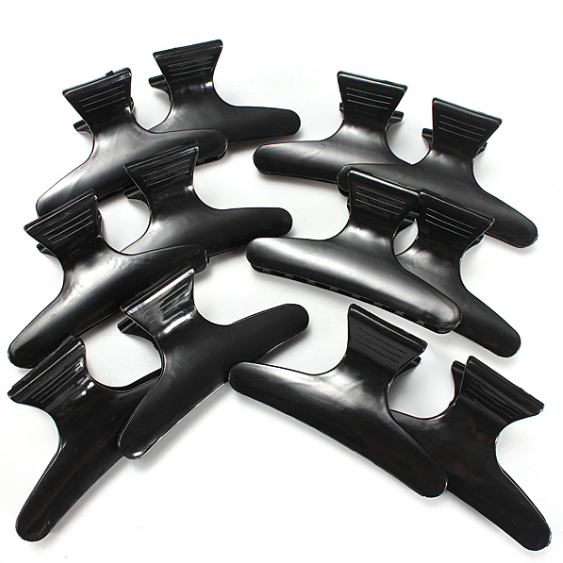
Butterfly clips to keep hair sectioned
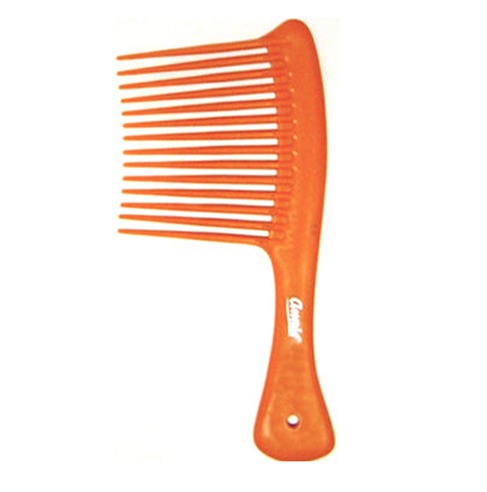
Jumbo Rake wide toothed comb for detangling
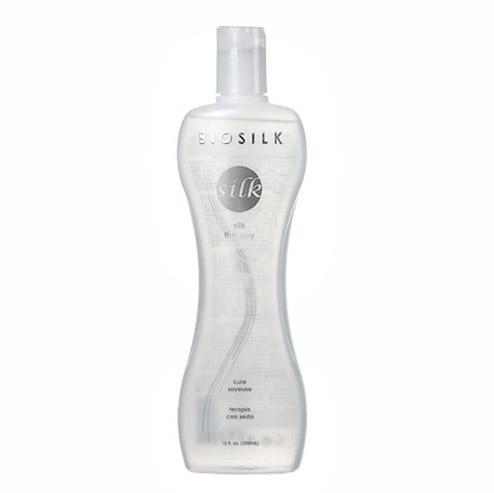
Biosilk Silk Therapy for shine.
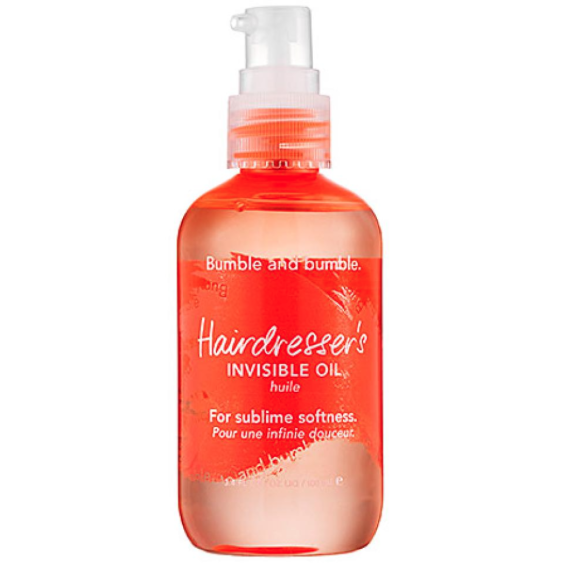
Bumble and Bumble Invisible Oil for heat protection and shine.
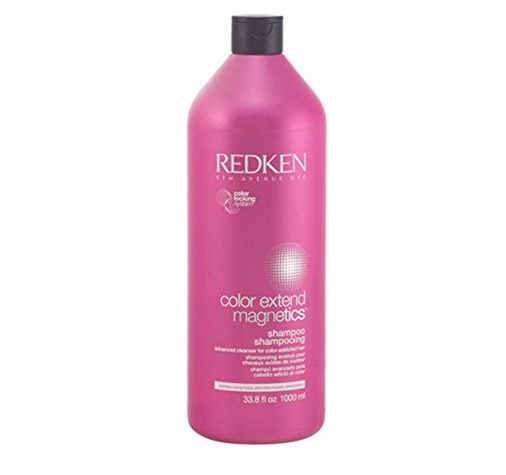
Redkin Color Extend Shampoo and Conditioner.
- Shampoo the hair. Using semi-permanent color requires clean damp hair.
- Detangle the hair. We did this step off camera because, though my hair is texturized, it can still be a process to get out every tangle. Especially considering the hair at my root is much thicker.
- Create four sections of hair to work with and clip them up. My mother likes to use butterfly clips, but I prefer duck bill clips. Either way, keeping the hair in sections for organization keeps the hair neat and speeds up the process. The last thing you want to do is fight with tangles and unruly hair while applying a hair color.
- Apply the hair dye from root to tip. We used Clairol’s Jazzings hair color in 99 Bluest black. Because the hair at my roots is much thicker, we wanted to make sure the dye could saturate each strand in that area first. Feel free to apply your dye from tip to root. I’ve seen it done both ways. The good news is, because we’re not bleaching my hair, there isn’t the same urgency in time required.
- Next, cover the hair with a processing cap, a towel, and let it process for 20 minutes. There’s no need to sit under a dryer. Adding body heat takes the color from a temporary wash-out dye to a semi-permanent color that lasts 6-8 weeks.
- After the dye has processed, remove the processing cap and add the clear gloss directly on top of the first dye. We used Clairol’s Jazzings temporary hair color in 10 Clear. Put the processing cap back on and let the hair process for another 10 minutes. This seals in additional shine.
- Rinse and shampoo with a color safe shampoo. As my mother states in the video, it isn’t advised to apply conditioner to hair that is freshly dyed because it fades the color, but using a color safe conditioner is okay in this case. My hair is naturally very dry and if I don’t apply proper conditioners, it will get brittle and break off during styling.
- Rinse and detangle. Feel free to detangle with conditioner still in the hair for manageability. Repeat detangling after the final rinse and part hair in four sections to begin blowdrying.
- Apply your leave-in styling products and heat protectant. We chose Luster’s Pink Oil Moisturizer, Bumble & Bumble’s Invisible Oil primer, and Biosilk’s Silk Therapy. These products combined give my hair softness, shine, and bounce.
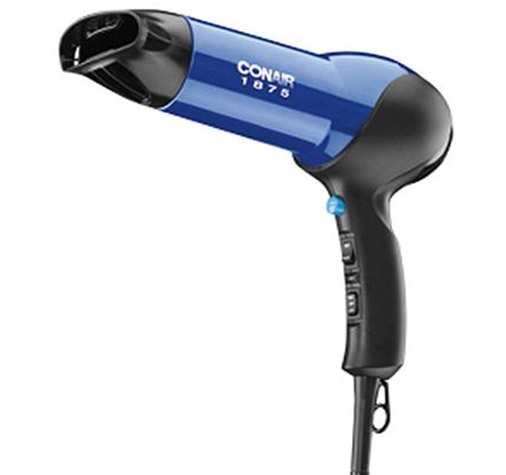
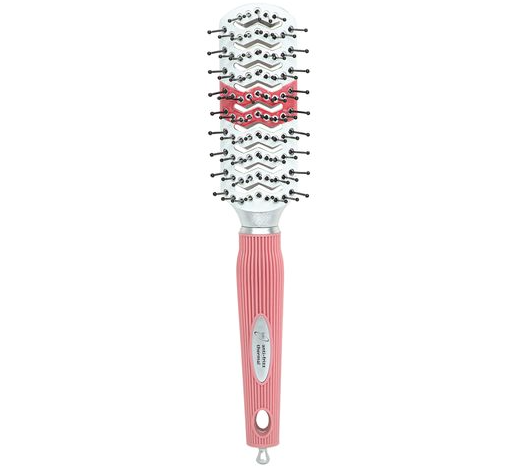
- Blow dry the hair. Use a blowdryer with a concentrated nozzle for faster dry time and a metal vent brush that holds on to the heat and straightens the hair better. A good blow-dry before flat ironing the hair pulls it straight instead of smashing it between two irons. Flat ironing is best when used as a smoothing tool. My blowdryer is Conair Ion Shine 1875.
- If you need a trim, this is a good place to do it. Unless you plan on flat ironing the hair bone straight.
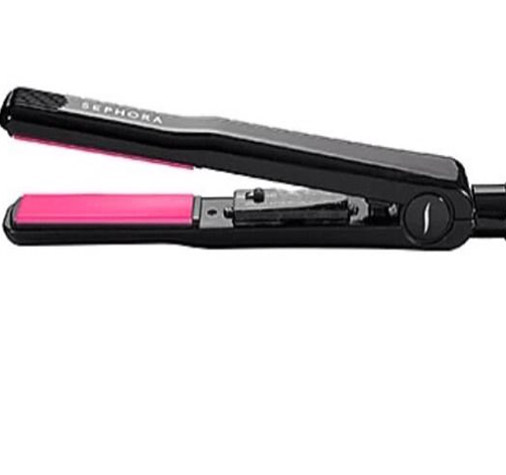
- Flat iron into the desired style. As seen in the video above, my mother actually flat ironed and curled at the same time. It cuts down on steps and heat applied.
And there you have it! Beautiful, healthy looking hair with shine and tons of bounce.
SHARE YOUR FAVORITE TIPS
I’d love to know the products you like to use as well. Whenever I make my next haircare trip, I like to have a mini list of things to check out. Thanks in advance for sharing!


