FIVE MINUTE HAIRSTYLES FOR WORK
STEP BY STEP GUIDE
This is the perfect tutorial for someone constantly in a rush to get to the office or web meeting. My hair has been previously twisted in mini twists, but all of the styles displayed can be done on loose hair or locs.
Note: Keep straight pins or bobby pins nearby.
PRODUCTS USED
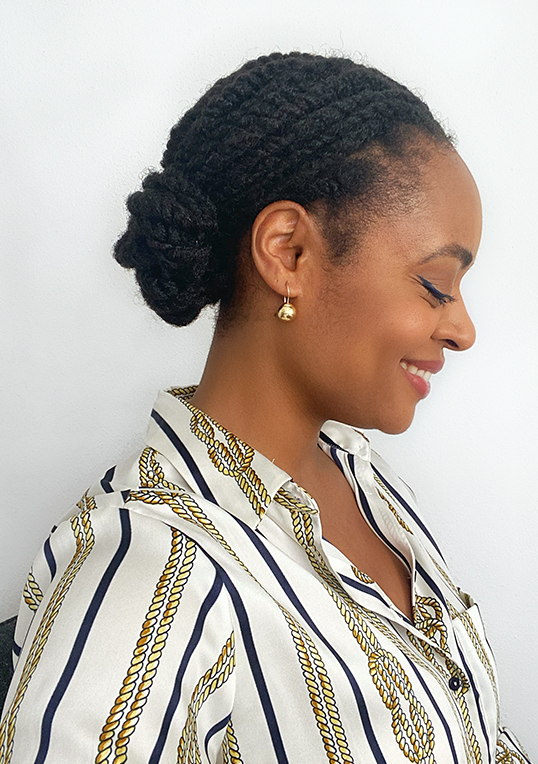
STYLE # 1
Step 1
- Secure your hair (twists) in a low side ponytail.
Step 2
- Take medium sized chunks of loose hair and roll up toward the base of the ponytail.
- Once the mini bun is close to the ponytail holder, secure with straight pins.
Step 3
- Repeat this action until all of the loose hair makes a neat low bun.
Now you’ve got a simple spin on a classic bun! You can leave a few twists down in the front or tuck them all back like I did.
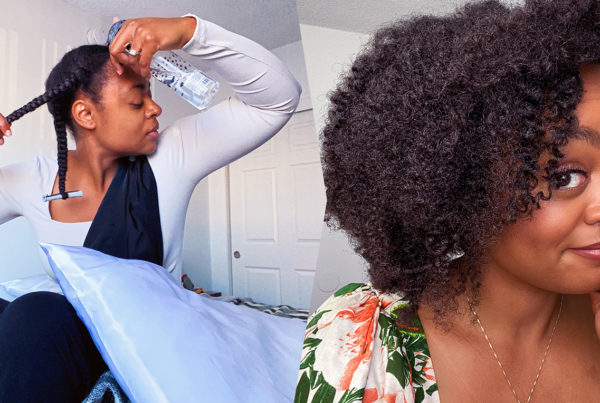
Moisturizing Twists
- I use a serum on my edges by Naturall Club to keep them hydrated.
- Then I mist water and layer on and a lightweight hair moisturizer from Camille Rose. Pressing the moisturizer into the twists works best for keeping them neat.
- The last step is to layer an oil to seal the moisture in.
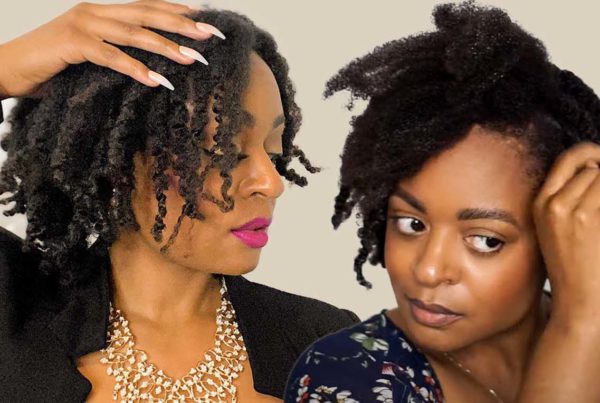
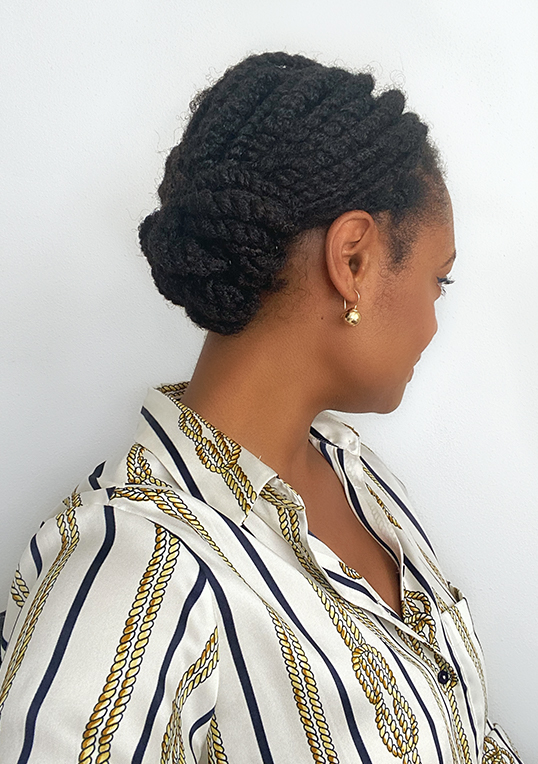
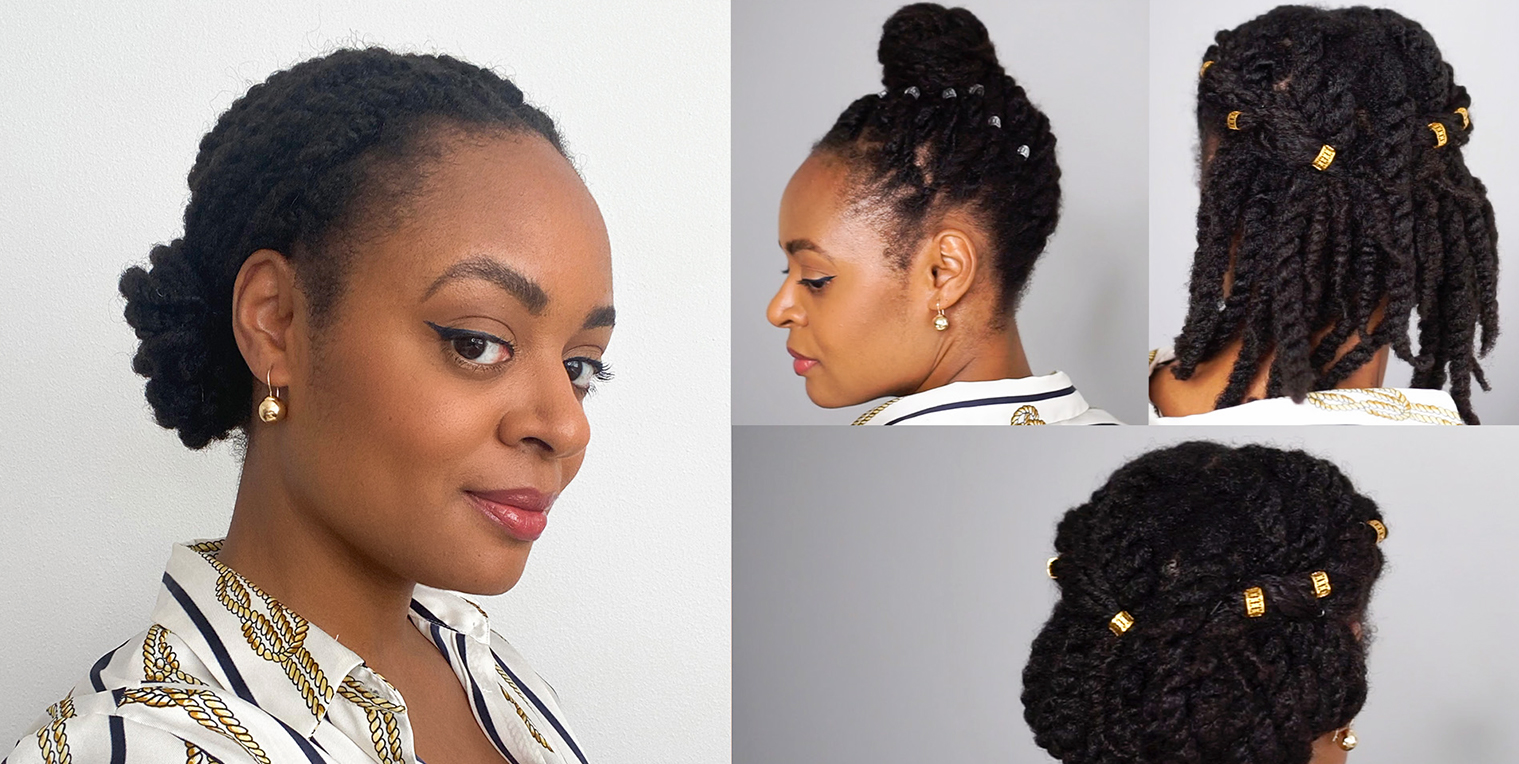
STYLE # 2
For this next style you’ll be creating flat twists.
Step 1
- Beginning from the front right side, take two evenly sized chunks of twists and twist the sections around each other while working backwards. The process is similar to cornrows, but with two chunks of hair instead of three.
Step 2
- Keep the flat twist close to the head, and when you get to the back, use straight pins to hold the twists in place. If you don’t like how the flat twists are laying, use straight pins to create a shape that fits your head shape and style.
Step 3
- Repeat the process of creating the flat twist on the left. Leave the ends of the flat twists loose.
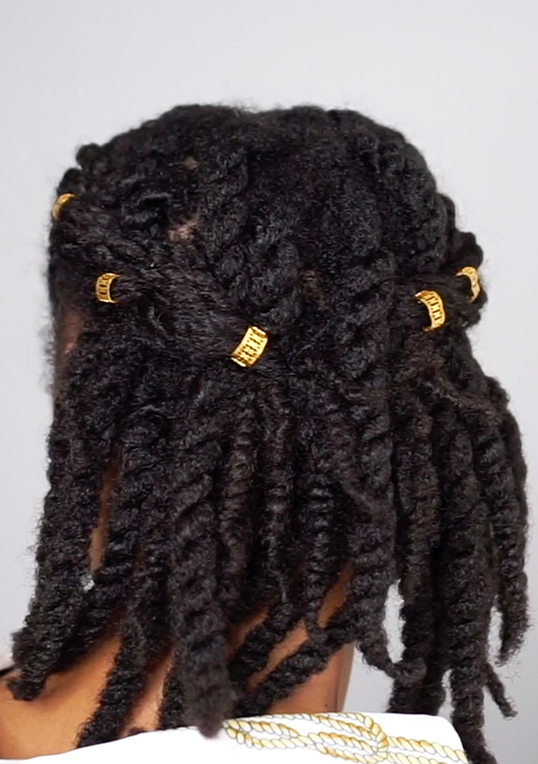
Step 4
- For a little more spice, add loc jewelry along each flat twist.
The end result should be a half up half down hairstyle that consists of two flat twists in the front, and loose hanging twists in the back.
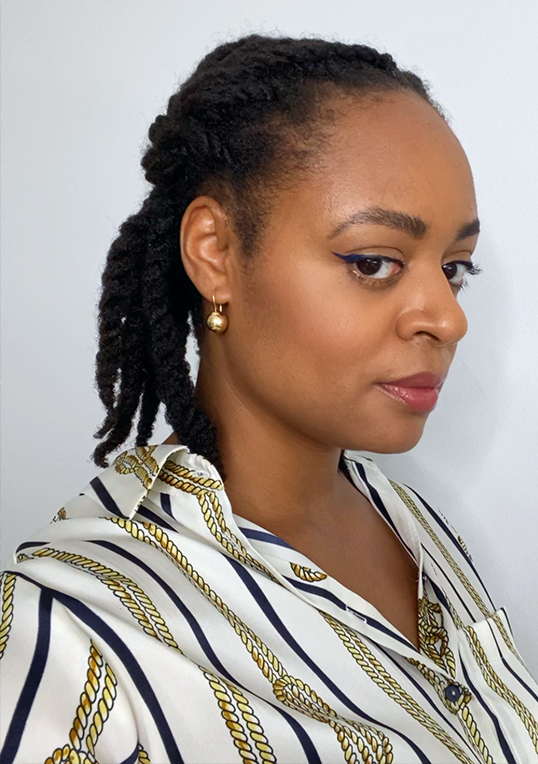
STYLE # 3

Style number 2 is the starting point for style number 3 and there’s only one step.
Step 1
- Take the loose hair in the back and roll the ends under until you reach the nape of your neck.
- Pin each chunk of twists under. And voila! You’ve got a whole new hairstyle.
The end result is two flat twists feeding into a tucked under faux bob. This officially turns the previous low manipulation style into a protective style because of the tucked ends.
STYLE #4
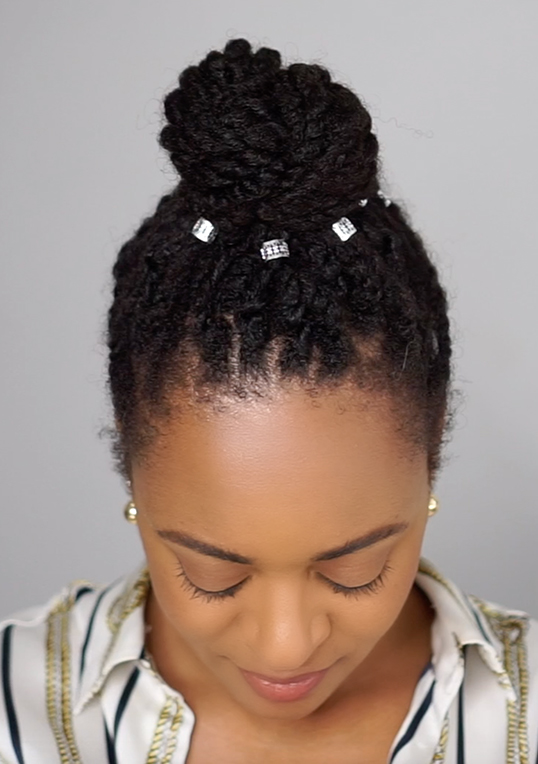
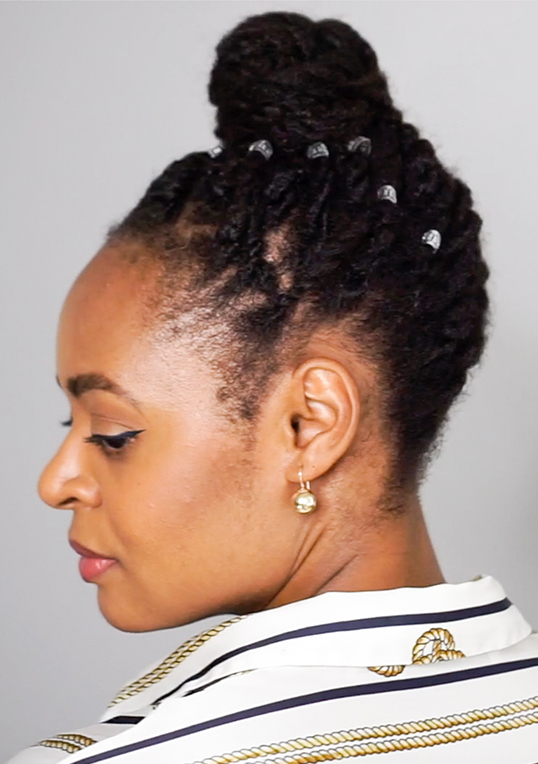
Step 1
- Starting from the back, group the back half of twists and begin creating a vertical rolled flat twist. It starts at the nape of the neck and ends at the crown of the head. It’s basically a French roll, without the ends being tucked.
Step 2
- Gather the front half of hair up to the crown and join the back and front halves into a high bun. Use straight pins to create the shape of bun you want.
Step 3 (optional)
- Then take loc jewelry and create a row of decor along each side of the flat twist.
- Take more jewelry and circle the base of the high bun.
MORE NATURAL HAIR TUTORIALS
SHARE IT
If this resonated with you, share it with your friends. Comment below and tell us, which style was your favorite? I personally love how the free-form twistout turned out.
Check my Youtube natural hairstyles playlist for more tutorials. I’ve also got a youtube tab here on the navigation bar at the top of this page where you can see all of my videos that upload every thursday. Subscribe to my newsletter, so you don’t miss any of my content. See ya in your inbox soon!