HIT PLAY ON THIS SIMPLE TOP KNOT BUN VIDEO TUTORIAL
STEP BY STEP GUIDE TO CREATE A TOP KNOT BUN USING YOUR OWN HAIR
To create this top knot bun, it’s best to begin with dry, slightly stretched out hair. Styling my hair dry allows me to see more length in the finished hairstyle.
PRODUCTS USED
STYLE # 1
Step 1
- Detangle hair as much as you can without breakage.
- Use a spray bottle filled with water, and spray perimeter of hair (edges) and leave the center dry.
- Apply a gel on top of the wet parts of the hair.
Step 2
- Brush and smooth hair into a ponytail using a seamless ponytail holder.
Step 3
- From the center of ponytail, separate a chunk of loose hair.
- Two strand twist the chunk of hair and fold it back onto itself and pin it.
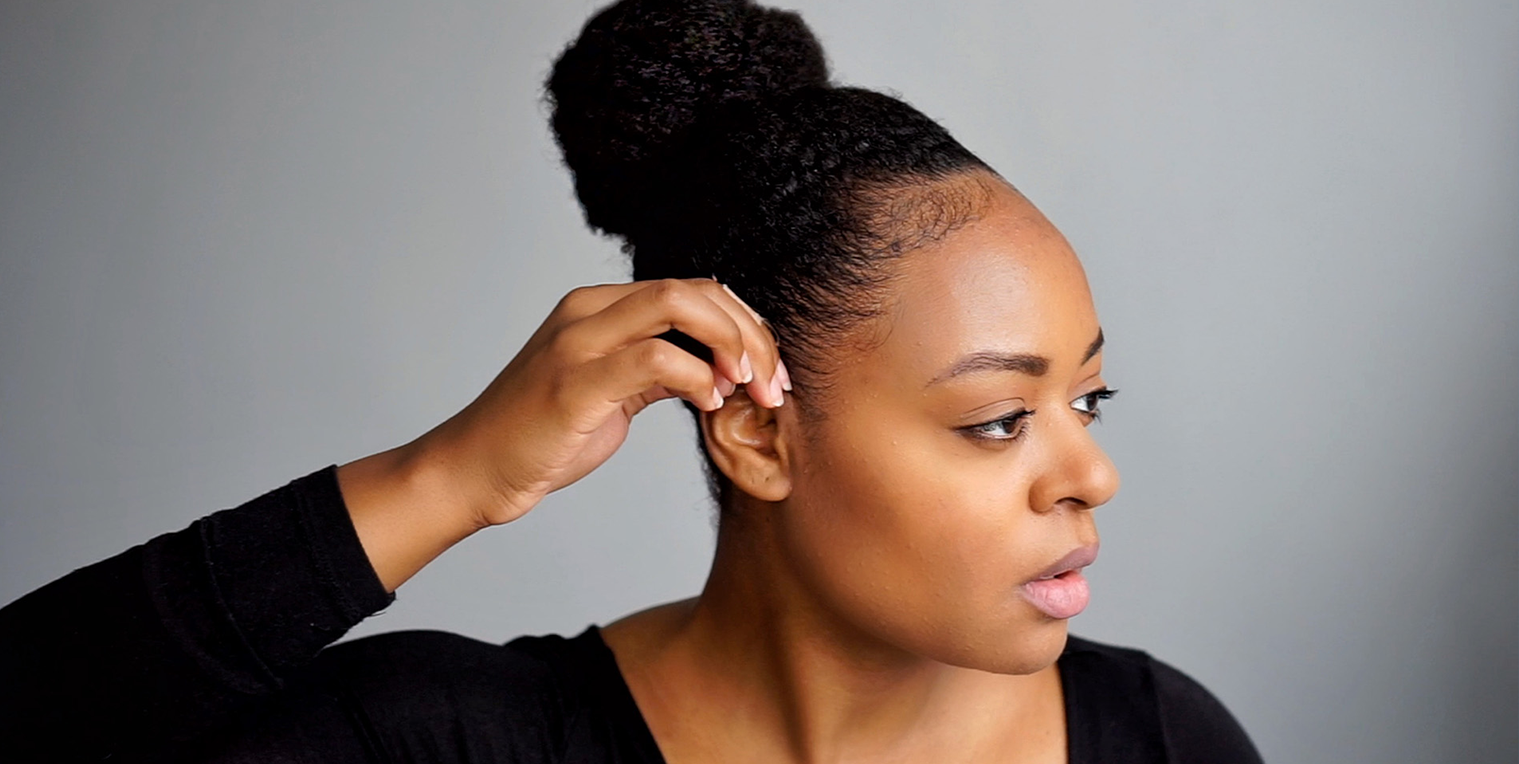
- Doing this should create a mini bun in the center of the ponytail.
Step 4
- With the remaining hair surrounding the mini bun, stretch and pin small pieces over and across the bun to create more volume. Do this until you have a bun.
Alternatively, you may want to use a donut bun to create more fullness.
Step 5 (optional)
- Appy gel to your front hairline and style your edges.
- Place and tie a scarf around your edges to flaten and set the design.
Wait 10 to 20 mintues to allow the style to set before removing the scarf.
STYLE # 2

Step 1
- Use a bundle of clip in extensions and layer at least two tracks on top of one another for thickness.
- Braid each set together with multiple large braids per track.
Step 2
- Flip tracks upside down and wrap them around the base of the ponytail.
- Clip or pin wefts in place.
Step 3
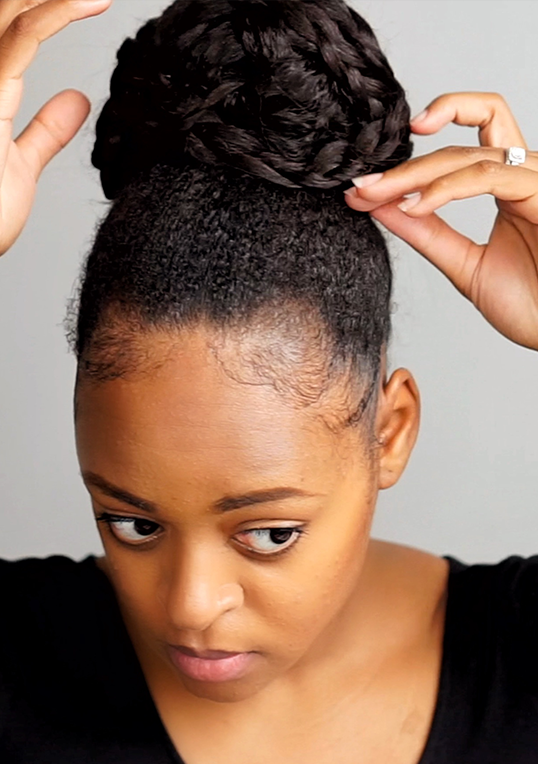
- Fold, cross, and lay braids across top knot bun until the real bun is no longer visible, and it appears completely braided.
- Use bobby pins to secure the faux braids in place.
And that completes style number two! Feel free to add decorative hair jewely and accessories to the bun to express your unique style.
ABOUT MY MAKEUP
Details
lips • NYX |eyes • City Color | foundation • MAC Cosmetics | brows • E.L.F | mascara • Clinique
SHARE IT
This style is quick and very easy to do. Perfect for work, events, and the holiday season. I’m also in the process of putting together some holiday hair and fashion content. I’m very excited to share my ideas with you!
Check my Youtube natural hairstyles playlist for more tutorials. I’ve also got a Youtube tab here on the navigation bar at the top of this page where you can see all of my videos that upload every Thursday. Subscribe to my newsletter, so you don’t miss any of my content. See ya in your inbox soon!


